
by Gillian Galle
I know we’re all feeling pretty saturated with learning new programs and technology this semester. However, if you’re in the mind space where you’re willing to try a new thing out, then it may as well be this one! Today’s tip eliminates a lot of back and forth emails negotiating a meeting time with your advisee.
How to Allow Your Students to Schedule an Advising Meeting in Aviso
Step 1: Log into Aviso. Once your Dashboard has loaded, you’re going to the top right of the Aviso screen and clicking on your icon:
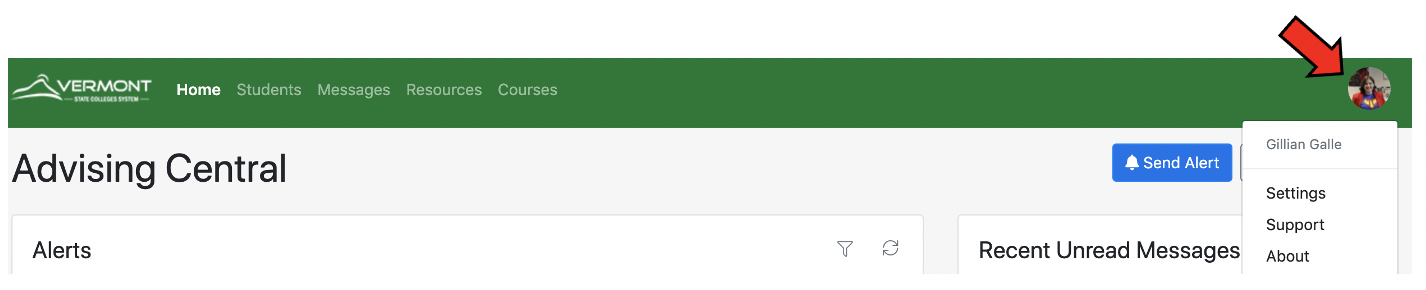
Step 2: Clicking on the “Settings” option in the drop down menu that appeared brings you to a long list of different settings for your account. You’re going to scroll all the way down to:
 It’s approximately the 8th option down… Once you find it, you’ll want to click the checkbox next to “Accept scheduled meetings from students” which will cause this section to expand!
Step 3: Let’s look at a few of the options that have now appeared.
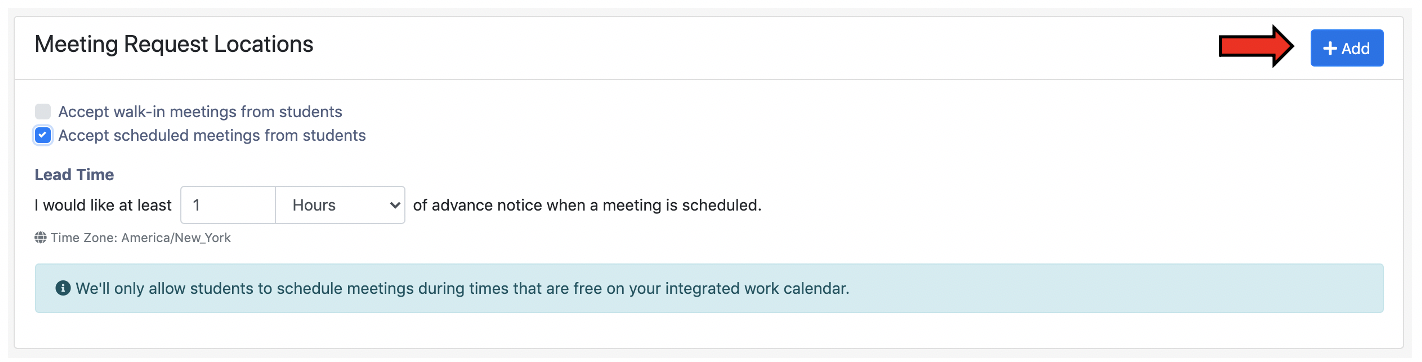
- The Lead Time allows you to restrict how far in advance the student needs to make the meeting request. Depending on your advising style, you may only need 30 minutes, 1 hour, or more!
- Notice the message highlighted in sea foam green; this is synced up with your Outlook calendar, so if you’re keeping all of your meetings/classes/appointments up to date in that calendar Aviso won’t let a student schedule their meeting during one of those claimed times.
Pretty cool, right? Well, in order for your student to actually meet with you, you’ll need to add a location for that meeting. So go click on the blue button marked “+Add”
Step 4: You’ll have a new window pop up:
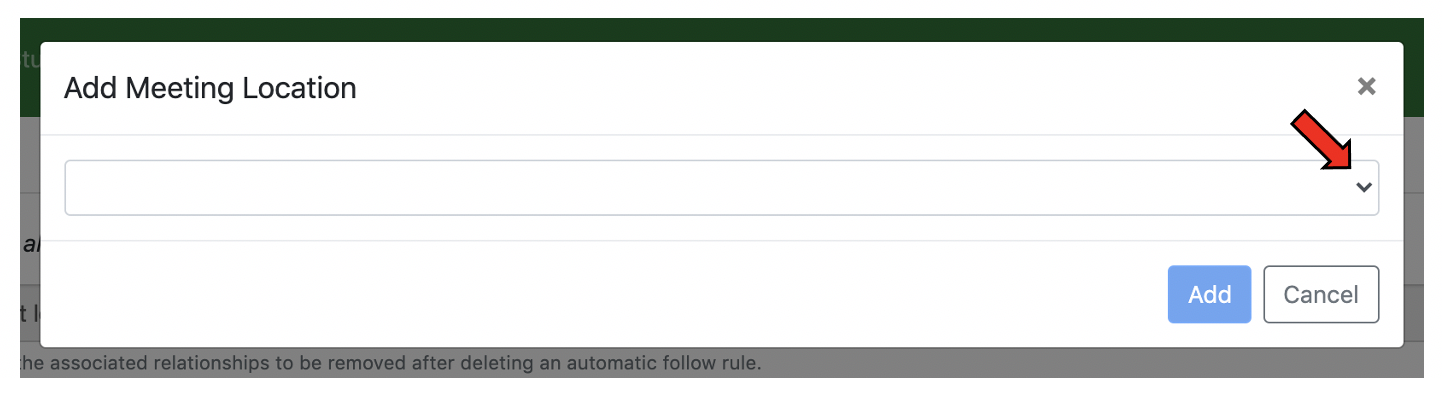 And you’ll want to open the drop down menu. Now, be forewarned: A very, very, very long list appears. It will take some scrolling, but about three quarters of the way down you’ll find a section that looks like:
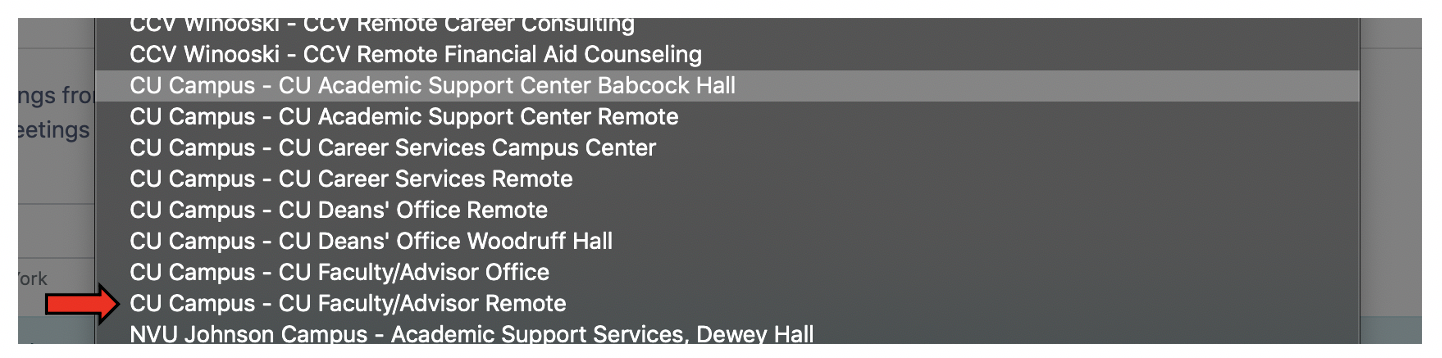 While you may eventually want to allow for your physical office location (CU Campus – CU Faculty/Advisor Office), for now I’m going to focus this walkthrough on the remote location options. So select the option the red arrow indicates: CU Campus – CU Faculty/Advisor Remote
You’ll see the following changes made to your Meeting Location Section:
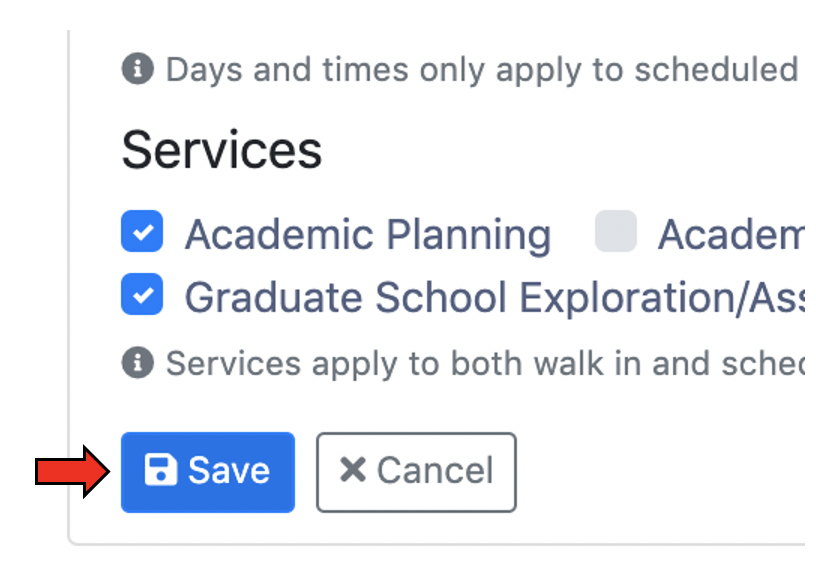
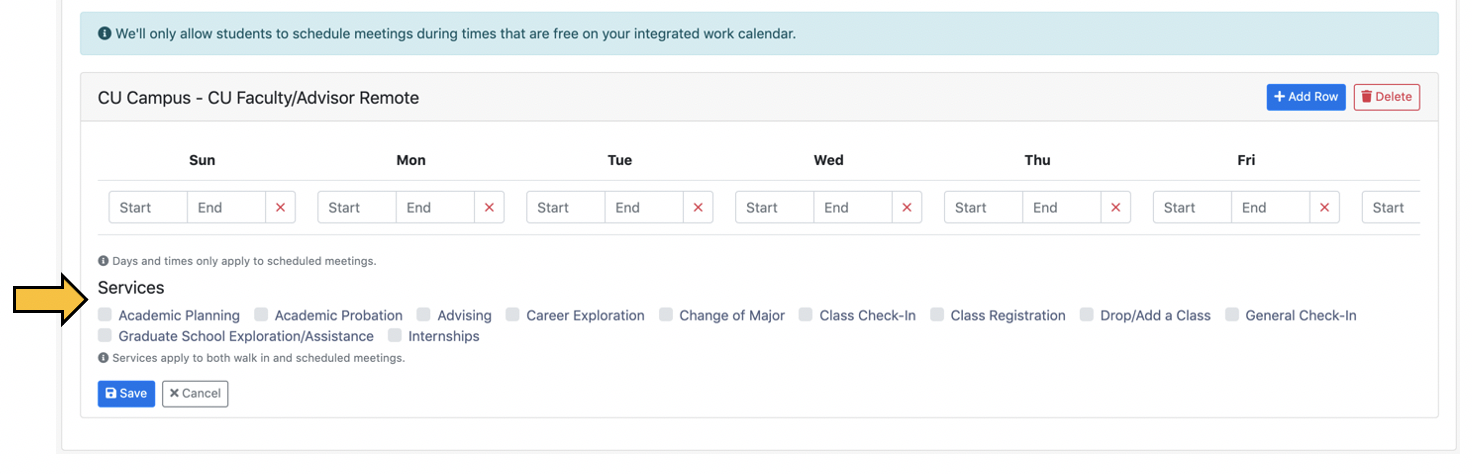 Looking beneath the sea foam green highlighting, a bar of days and times has shown up. Before we set those though, I want to draw your attention to the “Services” listed below. You can select the services you want to “offer” for your meetings. Think of this as a way for the student to indicate what they want to accomplish during their meeting with you! Select all the options you want your student to be able to choose from.
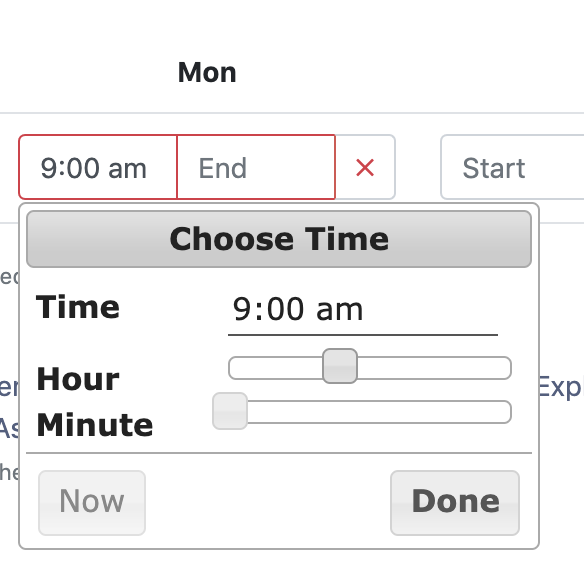
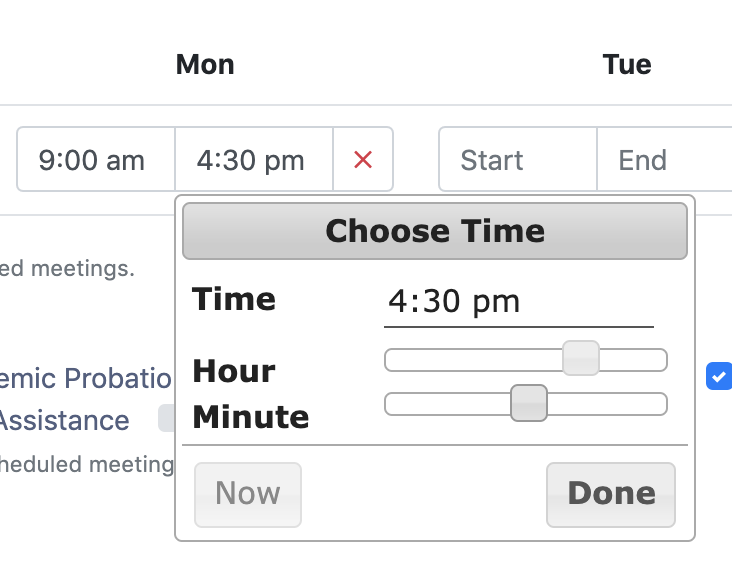
Step 5: Let’s set some times! The way I’ve approached this is I’m typically willing to meet Monday through Friday, anytime between 9:00 am – 5:00 pm, as long as I don’t already have a meeting scheduled on my work calendar. If you have different days and times you use, go for it! To add a time, click in the “Start” box and the “End” box and a little menu pops up:
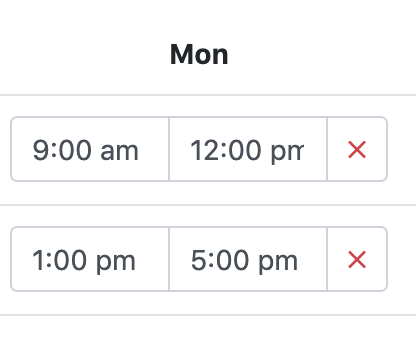
Or, if you want to skip lunchtime, like in the example below, click the blue “+Add Row” button to add a row!
Step 6: Once you’ve added times to the days you want to be available (if you don’t want to be available on a particular day of the week? Just don’t add times!), don’t forget to do the most important thing! Click the blue Save button!!!
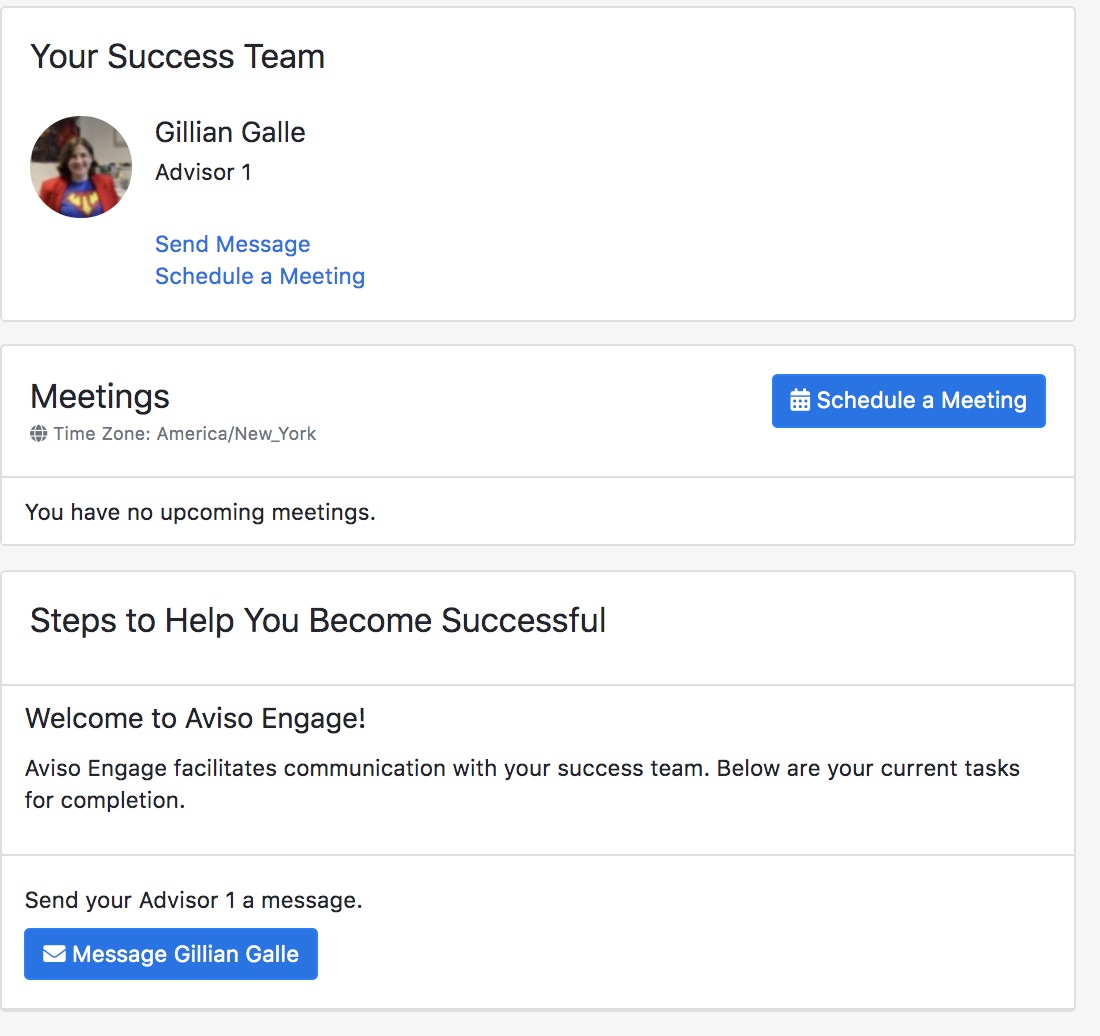
That’s it! Now, if a student wants to schedule a (remote) meeting with you, they can log into Aviso from the Portal and click on the link below the photo of you (their advisor) to “Schedule a Meeting”! They’ll then be presented with your known availability (within the constraints you set up above) and the ability to choose between a phone call or a Zoom meeting. Once they’ve scheduled the meeting, Aviso sends you an email letting you know about the requested meeting (and I’m relatively confident that it also adds it to your Outlook calendar as well).
**WARNING**: If a student chooses a Zoom meeting with you, you will still need to create the Zoom meeting and send the link to the student. The Zoom meeting is not automatically created.
Is it really that simple? Yes! Here’s literally what your advisee sees when they log in to Aviso:
If you want some sample instructions to send your advisees, I’d be happy to share what I’ve been using with my students. Just let send me an email!


[…] Tech Tip: How to set up your Aviso account so that your advisees can scheduling an advising meeting with you through Aviso! […]